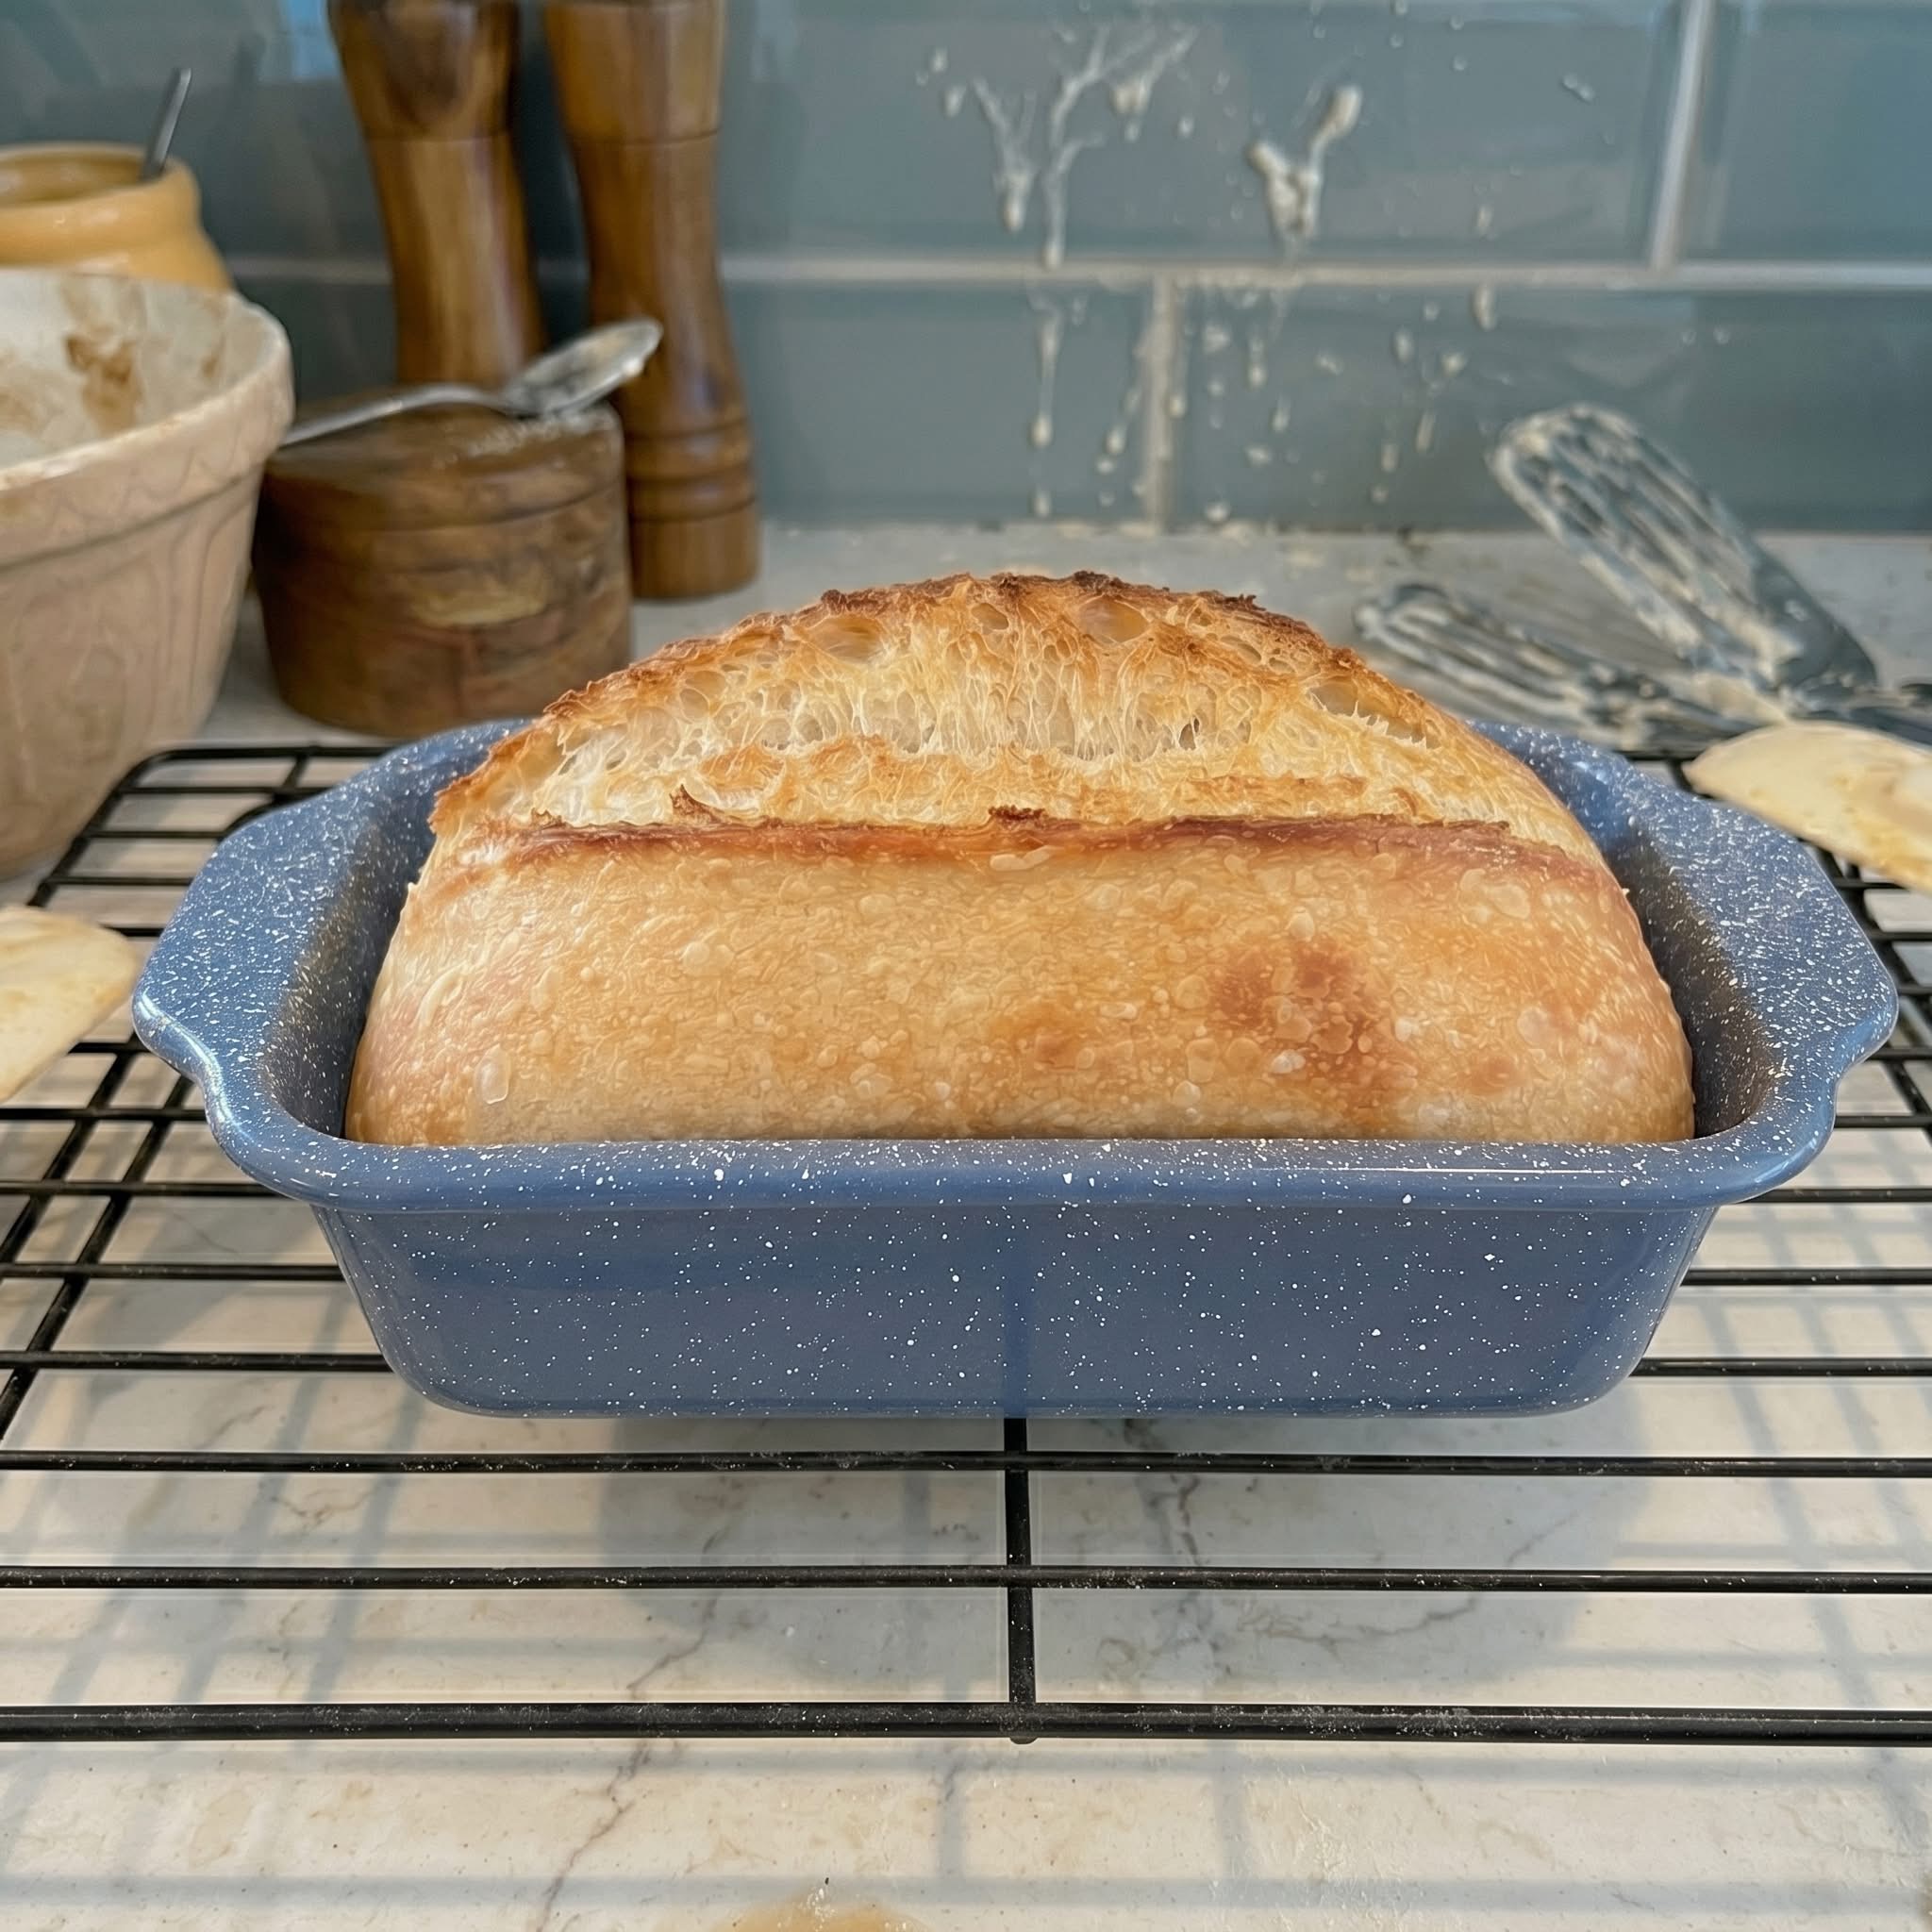
The Two-Loaf Pan Sourdough Method
The game-changer that tames the chaos of sourdough baking. No more sticky dough all over your counter, no more anxiety about shaping, no more wrestling with a banneton. Just simple, reliable, beautiful pan loaves.
Why This Method Works (And Feels So Much Calmer)
Traditional sourdough is chaotic:
· Sticky dough clinging to everything
· Tension pulls that never feel right
· Scoring that goes wrong
· Steam setups that feel dangerous
Two-loaf pan method = peace ☮️
· Dump, divide, and drop into two loaf pans
· No special equipment (just standard 8.5×4.5″ pans)
· Predictable oven spring
· Perfect sandwich bread shape every time
Ingredients
Ingredient Amount Note
Bread flour 800g 12-13% protein preferred
Water 600g Lukewarm (80-90°F)
Active sourdough starter 160g Fed and bubbly (doubled within 4-6 hours)
Salt 16g Fine sea salt
Makes 2 loaves
Timeline Overview (Less Intimidating Than It Looks)
Day 1 Evening:  Mix dough (10 min)
↓
Day 1 Night:     Stretch & folds (three sets, every 30 min)
↓
Overnight:       Bulk ferment on counter (8-12 hours depending on temp)
↓
Day 2 Morning:   Shape (5 min) → Pan → Proof (2-4 hours)
↓
Day 2 Late AM:   Bake! (45 min total)
Step-by-Step
Step 1: Mix (5 minutes)
In a large bowl, combine:
· 600g lukewarm water
· 160g active starter (it should float in water)
Stir until starter is mostly dissolved. Add 800g bread flour. Mix with a dough whisk or your hand until no dry flour remains. It will look shaggy and rough. Cover and autolyse for 30-60 minutes.
The autolyse gives the flour time to fully hydrate, making later handling much easier.
Step 2: Add Salt (2 minutes)
Sprinkle 16g salt over the dough. Wet your hand and squeeze/squish the salt in until incorporated. The dough will smooth out noticeably.
Step 3: Stretch & Folds (Active time: 5 minutes total)
Perform 3 sets of stretch and folds, spaced 30 minutes apart:
· Set 1: Grab a edge of dough, pull up until it resists, fold over the top. Rotate bowl 90°, repeat 4 times.
· Set 2: Same thing. Dough will feel less sticky.
· Set 3: Same thing. Dough should be smooth and hold its shape.
Cover and let the dough rest undisturbed for the rest of bulk fermentation.
Step 4: Bulk Fermentation (Overnight, 8-12 hours)
The dough stays in the bowl on your counter. Look for these signs it’s ready:
· Increased in size by 50-75% (not necessarily doubled)
· Surface is domed with bubbles visible
· When you pull a corner, dough feels jiggly and pillowy, not tight
· Small bubbles visible on the sides of the bowl
Cold kitchen (65-68°F): 10-12 hours
Warm kitchen (72-75°F): 7-9 hours
Hot kitchen (78°F+): 5-7 hours
Poke test: Gently press a wet finger into the dough. If the indentation slowly springs back but remains slightly visible, it’s ready.
Step 5: Shape (Yes, It’s This Easy)
No bench flour needed (keep it minimal).
- Lightly flour your counter.
- Gently pour out the dough. It will be soft and airy.
- Cut the dough in half (two ~780g portions).
- For each half:
· Gently shape into a rough rectangle
· Fold the top third down, bottom third up (like a letter)
· Roll into a log
· Pinch the seam closed - Drop each log into a GREASED loaf pan (8.5×4.5″ recommended). Yes, seam-side down or up—doesn’t matter much.
- Smooth the top gently with wet fingers.
Step 6: Final Proof (2-4 hours)
Cover pans with plastic wrap or a damp towel. Let them proof until:
· Dough has risen to just above the rim of the pan
· When you poke it, the dent holds but slowly fills back in
Pro tip: For tighter crumb (classic sandwich bread), proof less. For more open crumb, proof longer.
Step 7: Bake (45 minutes total)
Preheat oven to 450°F (230°C) with a rack in the middle position.
Optional but helpful: Place a baking sheet or empty pan on the bottom rack to catch any drips.
Baking timeline:
- Place both loaf pans on the middle rack.
- Bake 25 minutes at 450°F – the loaves will rise and brown.
- Reduce heat to 400°F (200°C) – bake another 20 minutes.
- Check internal temp – should reach 205-210°F (96-99°C).
- Remove from pans immediately onto a cooling rack.
For softer crust: Brush tops with butter immediately out of the oven.
Step 8: Wait (The Hardest Part)
Let loaves cool completely before slicing (at least 2 hours). Cutting warm sourdough gives you gummy, doughy slices. Worth the wait!
Tools You Actually Need
Essential Nice to Have
Two 8.5×4.5″ loaf pans Bench scraper
Large mixing bowl Kitchen scale
Plastic wrap or towel Dough whisk
Cooling rack Spray bottle for steam
No banneton. No lame. No Dutch oven. No pizza stone.
Troubleshooting Your Pan Loaves
Problem Likely Cause Fix Next Time
Dense, gummy interior Underproofed or cut warm Proof longer; wait to slice
Top collapsed Overproofed Shorter final proof
No oven spring Weak starter Feed starter 2x daily before baking
Pale crust Oven too cool Verify oven temp; bake longer
Burnt bottom Pan too dark Use light-colored pans; add a baking sheet below
Dough stuck to pan Not greased enough Use butter + parchment sling
Why Two Pans = Less Chaos
Traditional Method Two-Pan Method
Sticky counter cleanup Dough barely touches counter
Tension pulls with wet hands Just roll and drop
One big loaf requires perfect scoring No scoring needed
Dutch oven burns your arms Loaf pans are easy to handle
75% hydration = nightmare 75% hydration = manageable
Shaped boule wants to flatten Pans hold the shape for you
Weekend Baking Rhythm (For the Truly Chaotic)
Friday night: Feed starter before bed
Saturday morning: Mix dough (10 min)
Saturday late morning: Stretch & folds (5 min active)
Saturday evening: Shape + pan (5 min)
Saturday night: Bake OR refrigerate overnight and bake Sunday morning
Refrigerator Option (Even More Flexible!)
After shaping and placing dough in loaf pans, cover and refrigerate for up to 48 hours. When ready to bake:
· Remove from fridge
· Let proof at room temp for 2-4 hours (until dough reaches rim)
· Bake as directed
This lets you bake fresh sourdough whenever you want, not when the dough demands.
You’ve already conquered so much on your health journey—you deserve a sourdough method that doesn’t add stress. This one delivers beautiful, bakery-quality loaves with about 10 minutes of active hands-on time total.
Welcome to calm, confident sourdough baking. 🍞