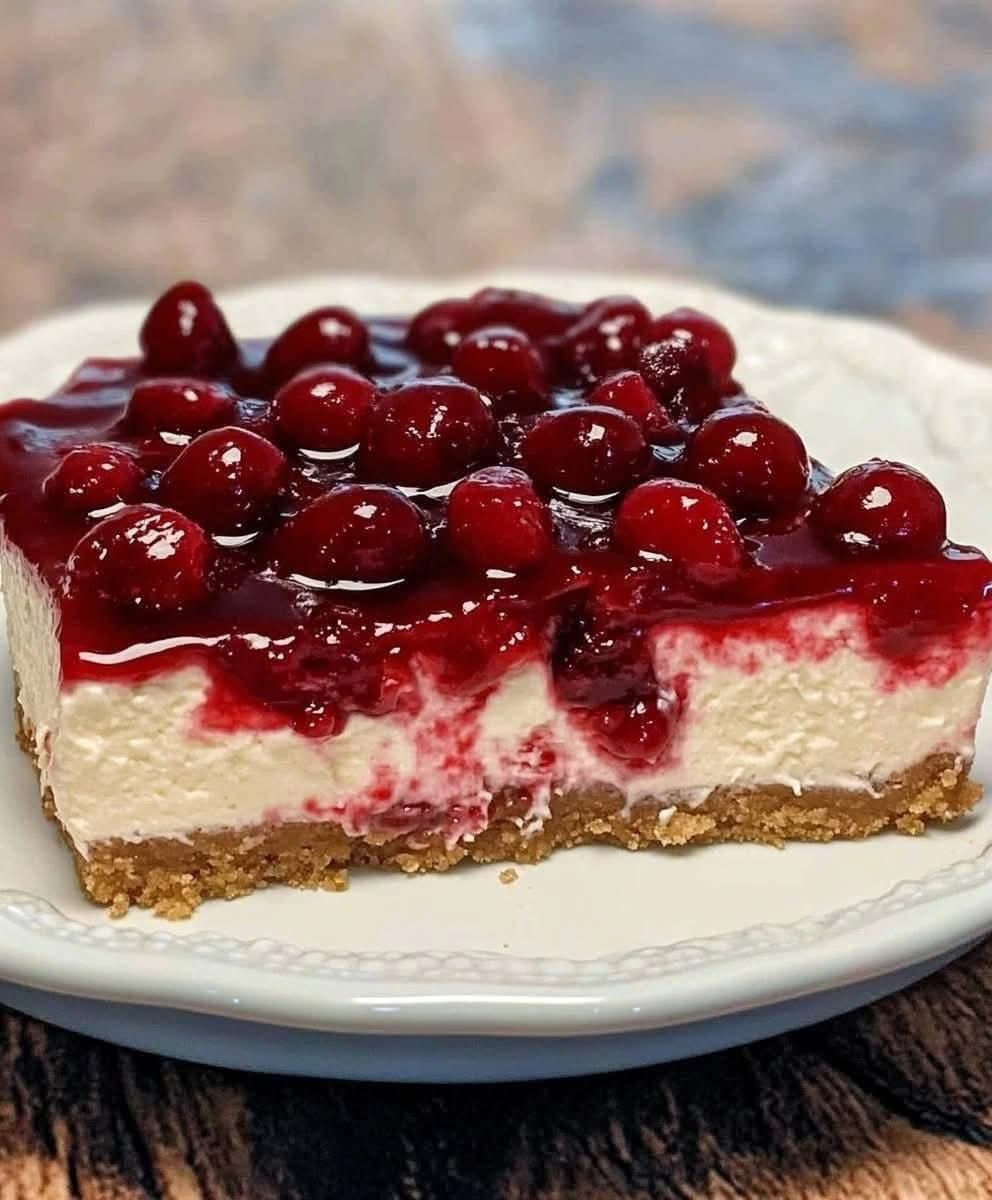
Of course! A no-bake cherry cheesecake is a timeless classic—creamy, sweet, tangy, and topped with that iconic vibrant cherry goodness. It’s surprisingly simple to make and always a crowd-pleaser.
Here is a detailed, foolproof recipe for a stunning no-bake cherry cheesecake.
Classic No-Bake Cherry Cheesecake
This recipe uses a springform pan for a beautiful presentation, but you can also use a 9×13-inch dish for easy serving.
Why it’s great: It’s incredibly creamy, requires no gelatine, sets firmly, and has the perfect balance of sweet and tangy.
Prep time: 20 minutes
Chill time: 6 hours (or preferably overnight)
Serves: 10-12
For the Graham Cracker Crust:
· 2 cups (about 200g) graham cracker crumbs
· 1/2 cup (1 stick / 113g) unsalted butter, melted
· 1/4 cup (50g) granulated sugar
· Pinch of salt
For the Cheesecake Filling:
· 24 oz (three 8 oz blocks) full-fat cream cheese, softened to room temperature
· 1 cup (120g) powdered sugar, sifted
· 1 tbsp pure vanilla extract
· 1 cup (240ml) cold heavy whipping cream
For the Cherry Topping:
· 1 can (21 oz) cherry pie filling
· Optional: 1 tbsp lemon juice to brighten the flavor
Instructions
- Make the Crust:
· In a medium bowl, mix the graham cracker crumbs, melted butter, sugar, and salt until it resembles wet sand.
· Press the mixture firmly and evenly into the bottom and slightly up the sides of a 9-inch springform pan. Use the bottom of a flat glass or measuring cup to press it down tightly.
· Place the crust in the refrigerator to chill while you make the filling.
- Make the Cheesecake Filling:
· In a large bowl, using an electric hand mixer or a stand mixer with the paddle attachment, beat the softened cream cheese on medium speed until it is completely smooth and lump-free. Scrape down the sides of the bowl.
· Add the sifted powdered sugar and vanilla extract. Beat again until fully combined and smooth.
· In a separate, clean, cold bowl, whip the cold heavy cream until stiff peaks form.
· Gently fold the whipped cream into the cream cheese mixture. Use a spatula and a slow, folding motion until no white streaks remain. Be careful not to deflate the whipped cream.
- Assemble and Chill:
· Retrieve the chilled crust from the fridge. Pour the cheesecake filling into the crust and smooth the top with an offset spatula or the back of a spoon.
· Cover the pan with plastic wrap and refrigerate for at least 6 hours, but ideally overnight. This is crucial for the cheesecake to set properly.
- Add the Topping and Serve:
· Just before serving, open the can of cherry pie filling. If using, stir in the lemon juice to cut the sweetness slightly.
· Carefully spread the cherry pie filling evenly over the top of the chilled cheesecake.
· Release the springform pan collar, slice, and serve!
Pro-Tips for the Perfect No-Bake Cheesecake
· Room Temperature Cream Cheese: This is the #1 secret! If the cream cheese is even slightly cold, you will end up with a lumpy filling. Let it sit on the counter for at least 1-2 hours.
· Cold Bowl for Whipping Cream: For the best volume, chill your mixing bowl and whisk/beaters in the freezer for 10-15 minutes before whipping the cream.
· Don’t Over-whip the Cream: Stop whipping when stiff peaks form. Over-whipped cream becomes grainy and can turn into butter.
· Fold Gently: When incorporating the whipped cream, be gentle. Folding, rather than stirring, keeps the filling light and airy.
· Patience is a Virtue: Do not rush the chilling time. The cheesecake needs those full 6+ hours to become firm enough to slice cleanly.
Easy Variations
· Different Crust: Use crushed Oreos (remove the filling) instead of graham crackers for a chocolate crust.
· Different Topping: Use blueberry, strawberry, or apple pie filling instead of cherry.
· Lemon Zest: Add the zest of one lemon to the filling for a bright, citrusy twist.
Enjoy your delicious, creamy, and impressive no-bake cherry cheesecake! It’s a dessert that truly proves simple ingredients can create something magical.