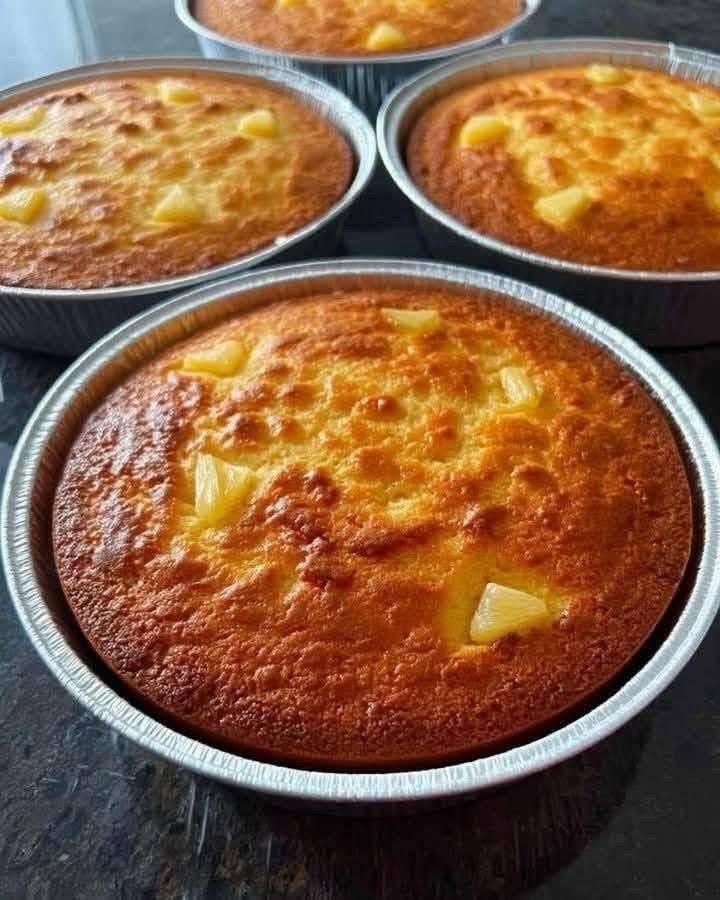
Of course! The Delicious Pineapple Cake you’re likely thinking of is the iconic Taiwanese or Chinese-style Pineapple Cake (鳳梨酥, fèng lí sū). It’s a beloved treat known for its crumbly, buttery shortbread-like crust and a sweet-tart pineapple filling.
Here’s a comprehensive guide, including what makes it special, a classic recipe, and tips for success.
What Makes Taiwanese Pineapple Cake So Special?
· The Crust: It’s not a typical cake; it’s more like a tender, melt-in-your-mouth shortbread cookie. The secret is often a combination of butter and powdered sugar, and sometimes egg yolk for richness.
· The Filling: Traditionally, it’s made from pineapple jam that is cooked down for a long time until it’s thick, fibrous, and deeply flavorful, with a beautiful balance of sweet and tart. Many commercial versions use a blend of pineapple and winter melon (冬瓜, dōng guā) to make the filling softer and less stringy, but a pure pineapple filling is highly prized.
Classic Homemade Pineapple Cake Recipe
This recipe focuses on a pure pineapple filling for that authentic, tangy flavor.
Yields: About 16-20 small rectangular cakes
Part 1: The Pineapple Filling
Ingredients:
· 1 large ripe pineapple (about 2 lbs / 1 kg after peeling and coring)
· 150g (3/4 cup) granulated sugar (adjust to taste and pineapple sweetness)
· 1 tablespoon honey or maltose (for gloss and texture)
· 1 tablespoon fresh lemon juice
Instructions:
- Prepare the Pineapple: Peel, core, and remove the “eyes” from the pineapple. Grate it using the coarse side of a grater or pulse it in a food processor until it’s a chunky pulp. Do not purée it completely; you want some texture.
- Strain (Optional): You can strain out some of the juice for a quicker cooking time, but keeping it will give more flavor. I recommend keeping it all.
- Cook Down: Transfer the pineapple pulp and all its juices to a wide, heavy-bottomed skillet or pot. Add the sugar. Cook over medium heat, stirring frequently, until it comes to a simmer.
- Reduce: Reduce the heat to medium-low. Continue to cook, stirring almost constantly to prevent burning, for 30-50 minutes. The mixture will bubble and splatter, so be careful.
- Test for Doneness: It’s ready when the mixture has thickened significantly, turned a deep golden color, and holds its shape when you scrape a line across the bottom of the pan. Stir in the honey and lemon juice at the very end.
- Cool: Spread the filling on a plate and let it cool completely to room temperature. It will thicken further as it cools. You can make this a day ahead.
Part 2: The Cake Crust
Ingredients:
· 200g (1 ⅔ cups) cake flour (all-purpose works, but cake flour is better for tenderness)
· 20g (3 tablespoons) milk powder (adds richness, optional but recommended)
· 1/4 teaspoon salt
· 115g (1 stick) unsalted butter, softened at room temperature
· 40g (1/3 cup) powdered sugar
· 1 large egg yolk, at room temperature
· 1/2 teaspoon vanilla extract
Instructions:
- Combine Dry Ingredients: In a medium bowl, whisk together the cake flour, milk powder, and salt. Set aside.
- Cream Butter and Sugar: In a separate bowl, using an electric mixer, cream the softened butter and powdered sugar until light, pale, and fluffy (about 2-3 minutes).
- Add Wet Ingredients: Beat in the egg yolk and vanilla extract until fully incorporated.
- Incorporate Dry Ingredients: Add the flour mixture in two batches, mixing on low speed until just combined and no dry streaks remain. Do not overmix. The dough will be soft and pliable.
- Chill: Wrap the dough in plastic wrap and chill in the refrigerator for at least 30 minutes. This makes it easier to handle.
Part 3: Assembling and Baking
Instructions:
- Preheat Oven: Preheat your oven to 350°F (175°C). Line a baking sheet with parchment paper.
- Divide: Divide the cooled pineapple filling into 16-20 small portions (about 15-20g each) and roll them into balls. Divide the crust dough into the same number of portions (about 25-30g each).
- Wrap: Take a portion of the crust dough and flatten it in the palm of your hand. Place a ball of pineapple filling in the center. Gently wrap the dough around the filling, pinching it closed to seal completely. Roll it gently between your palms to smooth it out.
- Shape: Place the ball into a rectangular pineapple cake mold. Press down firmly with the palm of your hand or a small press to flatten it and take the shape of the mold. If you don’t have a mold, you can gently shape it into a square or rectangle by hand on the baking sheet.
- Bake: Place the molded cakes on the prepared baking sheet. Bake for 15-20 minutes, or until the bottoms are lightly golden and the tops are just starting to turn pale gold.
- Cool: Let the cakes cool in the molds for 10 minutes before carefully unmolding. Then, transfer them to a wire rack to cool completely. They will be very soft when hot but will firm up as they cool.
Pro Tips for the Best Pineapple Cakes
· Patience with the Filling: The filling is the heart of the cake. Don’t rush the cooking process. A thick, caramelized filling is key to preventing a soggy crust.
· Butter Temperature: Ensure your butter is softened but not melted. This is crucial for achieving a crumbly, tender crust.
· Don’t Overbake: The cakes should only be lightly colored. Overbaking will make the crust hard.
· The Resting Period: For the best texture and flavor, let the finished cakes rest in an airtight container for 24 hours. This allows the crust to soften slightly and the flavors to meld perfectly.
Enjoy your homemade journey into this delicious and iconic treat